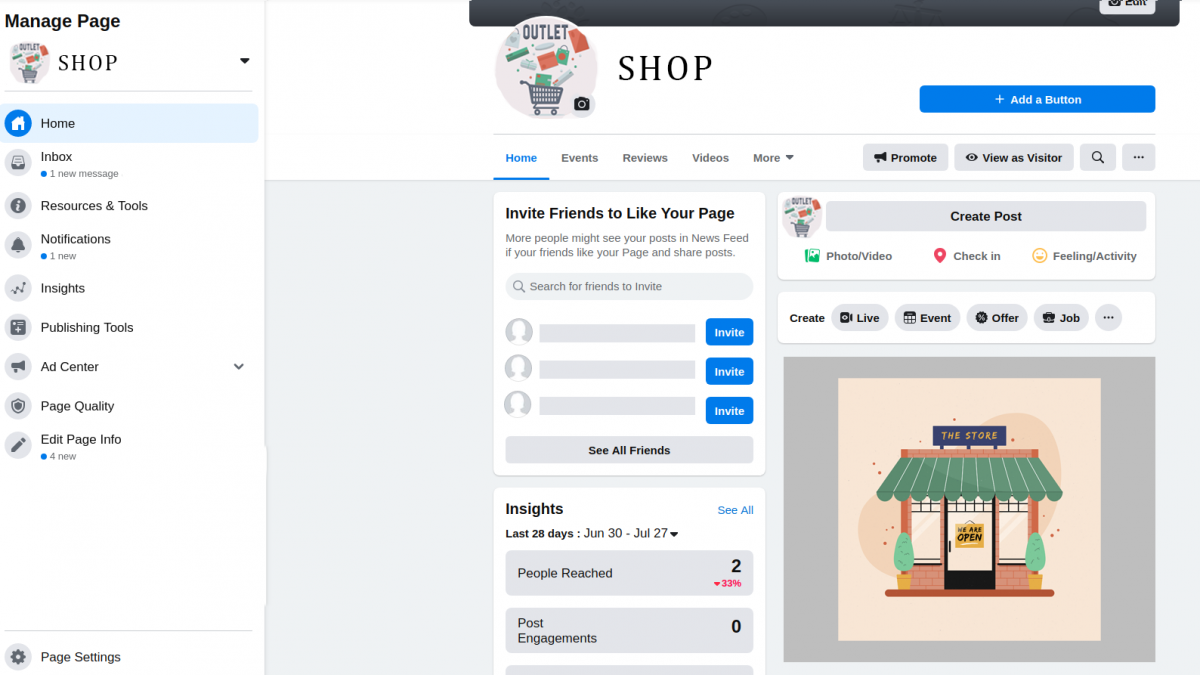
In today’s digital age, establishing an online presence for your business is more crucial than ever. Among the myriad platforms available, Facebook stands out as a robust marketplace with a vast, engaged user base. With Facebook Shop, businesses can set up a fully integrated e-commerce platform directly within the social media site. This guide will walk you through the steps to start your business on Facebook Shop, providing valuable insights and tips along the way.
Why Choose Facebook Shop?
Before diving into the how-to, it’s essential to understand why Facebook Shop is a valuable platform for your business:
- Massive Audience: With over 2.8 billion monthly active users, Facebook offers an unparalleled reach.
- Integrated Shopping Experience: Users can discover, browse, and purchase products without leaving Facebook, leading to higher conversion rates.
- Enhanced Customer Interaction: Direct messaging and comments allow for real-time customer engagement and support.
- Cost-Effective: Setting up a Facebook Shop is free, making it an affordable option for businesses of all sizes.
Getting Started: Setting Up Your Facebook Shop
Step 1: Create a Facebook Business Page
Your journey begins with a Facebook Business Page. If you already have one, you can skip this step.
- Log in to Facebook: Use your personal account to log in. This account will be the admin of your business page.
- Create a Page: Click on the “Create” button at the top of the page and select “Page.”
- Fill in Details: Enter your business name, category, and description. Make sure your details are accurate and compelling to attract potential customers.
- Add Images: Upload a profile picture (usually your logo) and a cover photo that represents your brand.
Step 2: Set Up Your Shop
Once your business page is ready, it’s time to set up your shop.
- Navigate to Commerce Manager: Go to your Facebook Business Page and click on the “Shop” tab. You’ll be redirected to the Commerce Manager.
- Choose Checkout Method: Decide how you want customers to complete their purchases—on Facebook, on your website, or via direct message.
- On Facebook: Customers complete their purchase directly on Facebook.
- On Your Website: Customers are redirected to your website to complete their purchase.
- Via Message: Customers contact you via Facebook Messenger to complete their purchase.
- Enter Business Details: Provide necessary business information, including your business email, address, and phone number.
- Set Up Your Payments: If you choose to have customers check out on Facebook, you’ll need to set up a payment method. This usually involves connecting a bank account.
Step 3: Add Products
Now that your shop is set up, it’s time to add products.
- Go to Commerce Manager: From your Facebook Page, navigate to the Commerce Manager.
- Add Products: Click on “Add Products” and fill in the necessary details for each product.
- Product Name and Description: Provide a clear, concise, and enticing description of each product.
- Price: Set a competitive price for your product.
- Images: Upload high-quality images. Multiple images showing different angles can help in better product visualization.
- Inventory and Shipping: Manage your inventory levels and set up shipping options.
Step 4: Organize Your Shop
A well-organized shop is crucial for a smooth shopping experience.
- Create Collections: Group related products into collections. For example, if you sell clothing, you could have collections like “Summer Wear,” “Accessories,” and “New Arrivals.”
- Arrange Products: Ensure your best-selling and most popular products are prominently displayed.
Step 5: Promote Your Shop
Setting up your shop is just the beginning. To attract customers, you need to promote it effectively.
- Leverage Facebook Ads: Facebook Ads can help you reach a broader audience. Use targeted ads to reach potential customers based on their interests, behaviors, and demographics.
- Engage with Your Audience: Regularly post engaging content on your business page. This could include product updates, promotions, and behind-the-scenes content.
- Utilize Facebook Insights: Monitor your shop’s performance using Facebook Insights. This tool provides valuable data on your audience and how they interact with your shop.
Best Practices for Running a Successful Facebook Shop
Optimize Product Listings
- High-Quality Images: Invest in professional photography for your products. High-quality images can significantly impact buying decisions.
- Detailed Descriptions: Write clear, detailed product descriptions. Include key features, benefits, and any specifications.
- Customer Reviews: Encourage satisfied customers to leave reviews. Positive reviews build trust and can influence new customers.
Provide Excellent Customer Service
- Quick Responses: Respond to customer inquiries promptly. Use Facebook Messenger to provide real-time support.
- Resolve Issues: Address any customer issues or complaints swiftly and professionally.
Keep Inventory Updated
- Regular Updates: Keep your inventory updated to avoid overselling or underselling.
- Notify Customers: Inform customers about restocks, limited-time offers, and new arrivals.
Utilize Facebook Tools
- Facebook Shops Live: Use Facebook Shops Live to showcase products and interact with customers in real-time.
- Integrate with Instagram: Connect your Facebook Shop to Instagram Shopping to expand your reach.
Conclusion
Starting a business on Facebook Shop is a strategic move that can help you reach a vast audience and increase sales. By following these steps and best practices, you can set up a successful shop that attracts customers and keeps them coming back. Remember, consistency and engagement are key to thriving in the competitive world of e-commerce. So, get started today and watch your business grow on Facebook Shop!


